This post contains affiliate links. If you buy something from one of our links we may earn a commission. Thanks
Dive into our easy guide on how to grow hydroponic tomatoes and peppers! Perfect for beginners looking to start their indoor gardening journey.
How To Grow Hydroponic Tomatoes and Peppers Week 10
Here’s a video showing week 10 of this closet grow:
Grow Hydroponic Tomatoes and Peppers Key Takeaways:
- Growing hydroponic tomatoes and peppers starts with choosing the right system and seeds.
- Ensure proper lighting, keep nutrient solutions at 1,000-1,500 PPM, and maintain ideal temperatures.
- Regular pruning helps manage size and improves yield.
- With these basics, you’ll enjoy a bountiful harvest from your indoor garden.
Ever wondered how to grow hydroponic tomatoes and peppers right in your own home? You’re in the right place!
We’re here to walk you through the simple steps to get your indoor garden flourishing.
Whether you’re a green thumb or just starting out, our tips will make your hydroponic adventure a breeze.

Welcome to our latest update in the series on growing hydroponic tomatoes and peppers. We’re now in week 10, and the journey has been both enlightening and fruitful, quite literally.
In this guide, we’ll share insights from our experience, focusing on the growth, pruning, and nutrient needs of our hydroponic plants.
Whether you’re a seasoned indoor gardener or just starting, these tips will help you achieve a successful hydroponic garden in your own space.
Tomato and Pepper Hydroponics Grow Details
Now let’s talk about how to grow hydroponic tomatoes and peppers. Mine are in a closet but a grow tent will also work.
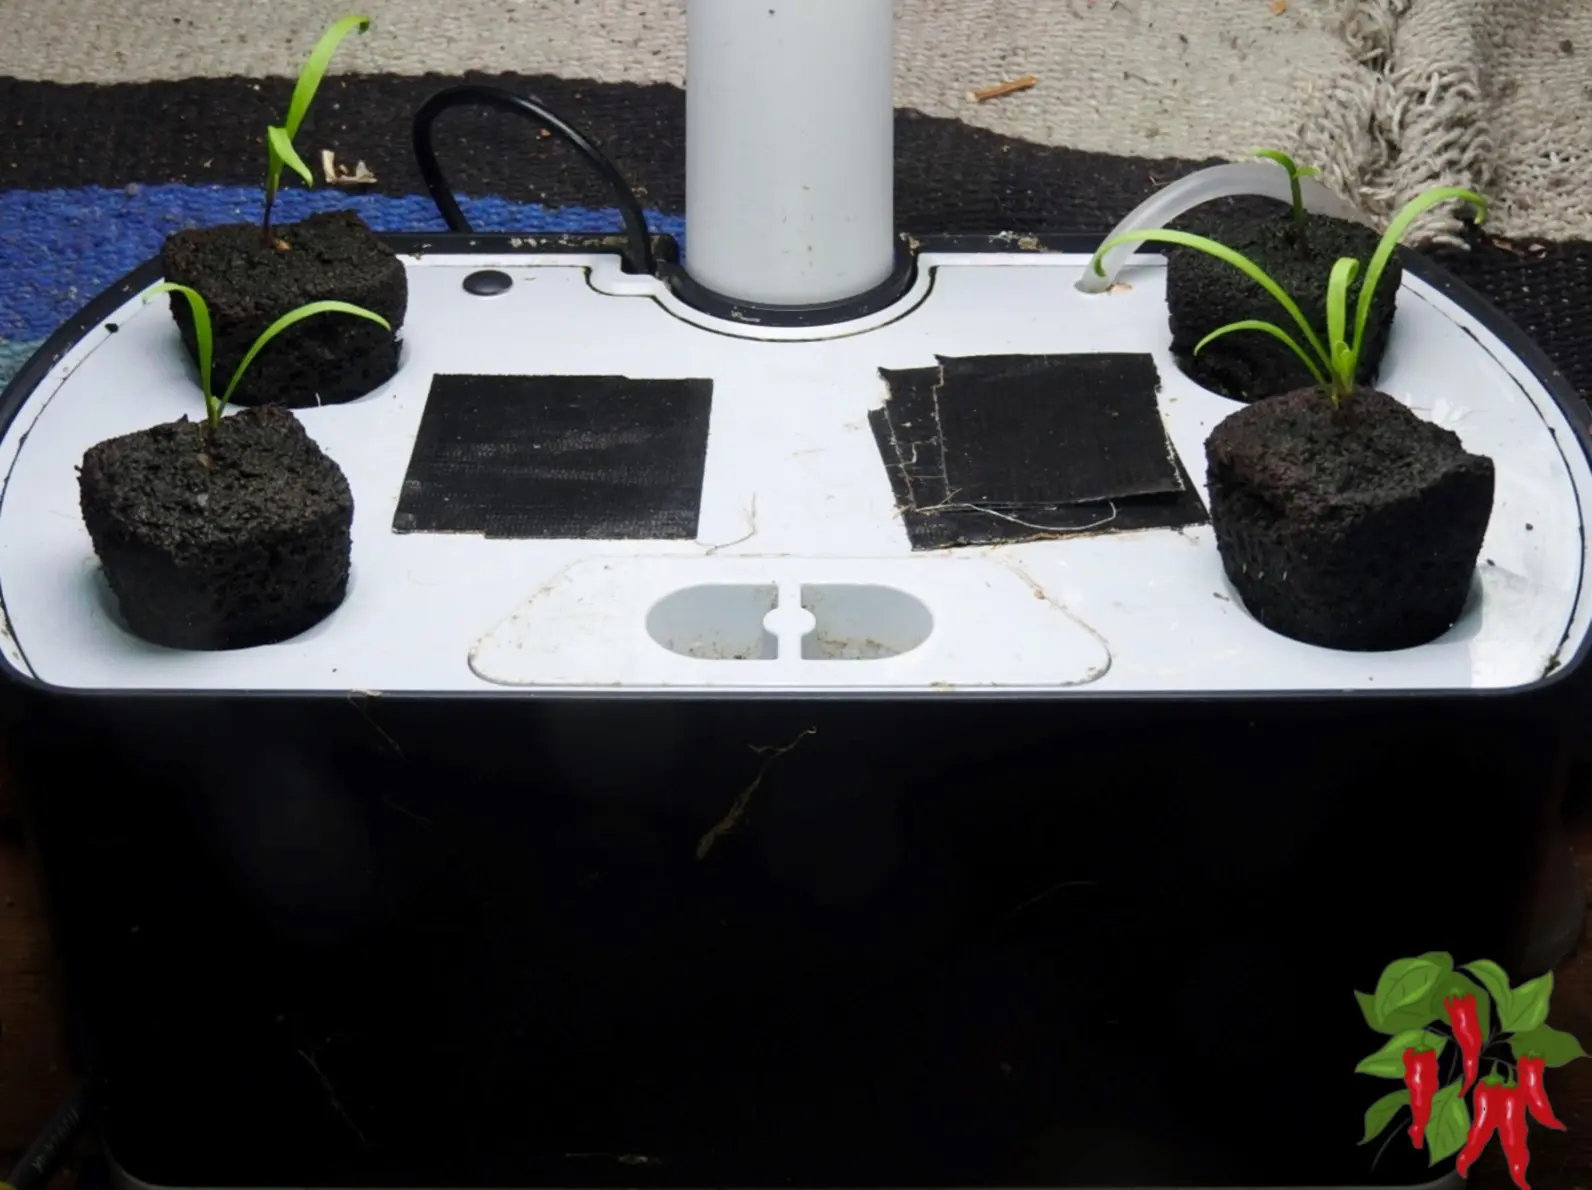
The plants were set in at about 3 weeks old from small transplants. I will explain my setup and give some important tips for growing hydroponic peppers and also tomatoes.
It’s week 10 for my hydroponic tomato and peppers closet grow. You can see the other videos on my YouTube channel Small Farms Big Ideas
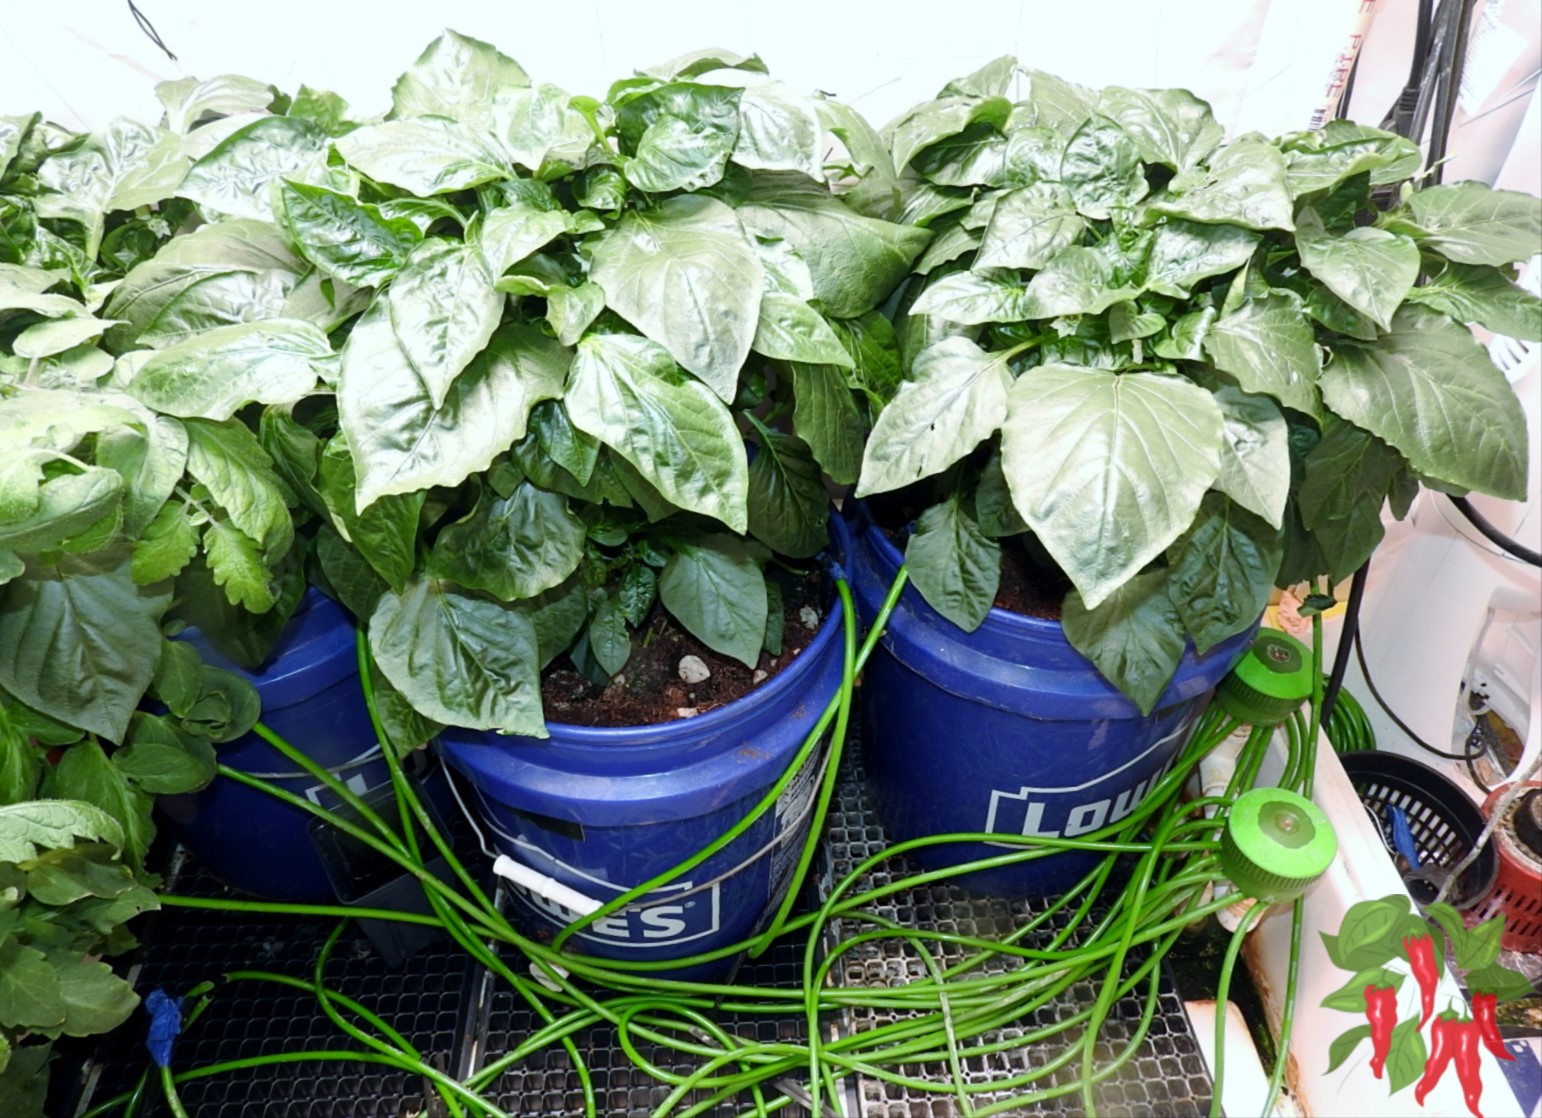
I have 3 Burpee Candy Apple Hybrid sweet peppers and one tomato plant which is an Early Girl determinate tomato also from Burpee seeds.
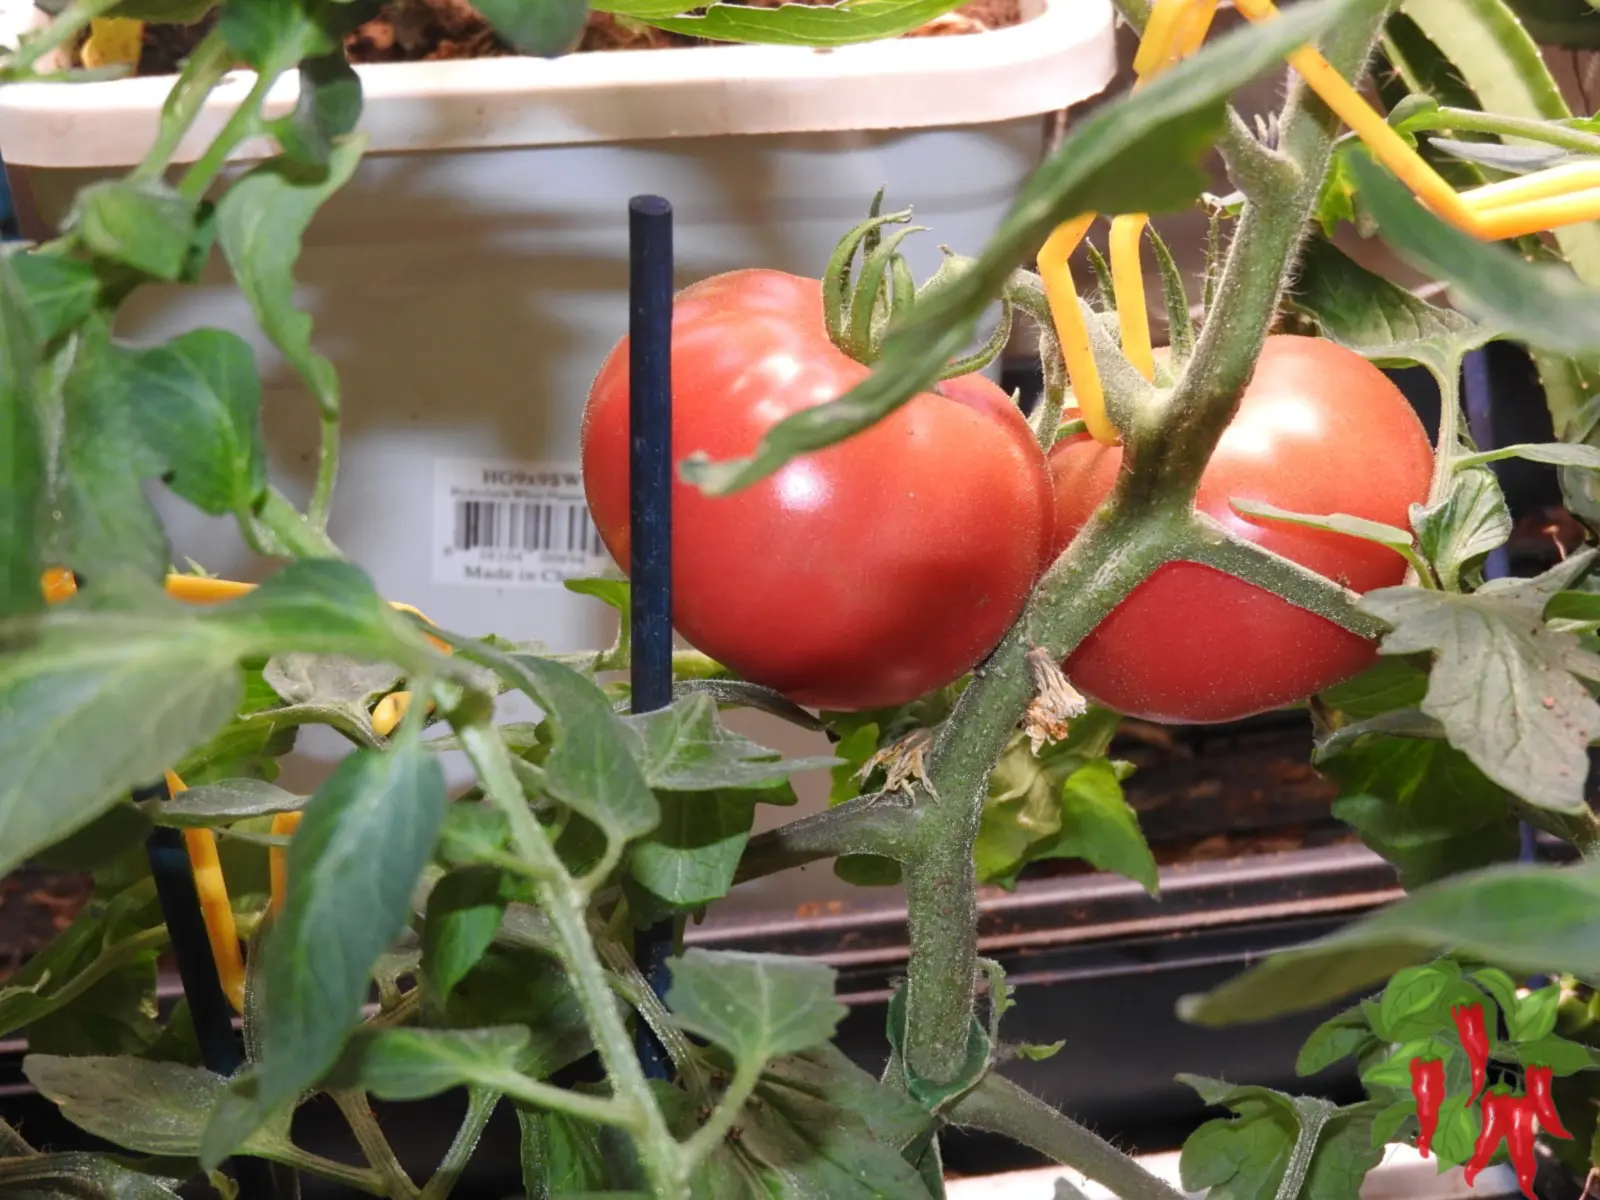
The tomato plant has gotten very large and wants to take over my closet. After pruning it back I found the tomato plant is loaded with fruit.
The plants are in 5-gallon buckets of coco coir and watered with top-feed drip irrigation. The nutrients are Jack’s 3-2-1 mix and the lighting is an HLG 650R LED.
Read about: How To Set Up a Top-Feed Drip System
Lights and watering are controlled with timers so the grow is automated. Earlier stages of this grow journal can also be found on my other website Rapid Daily.
Read more about Selecting Vegetable Plants for Closet Growing
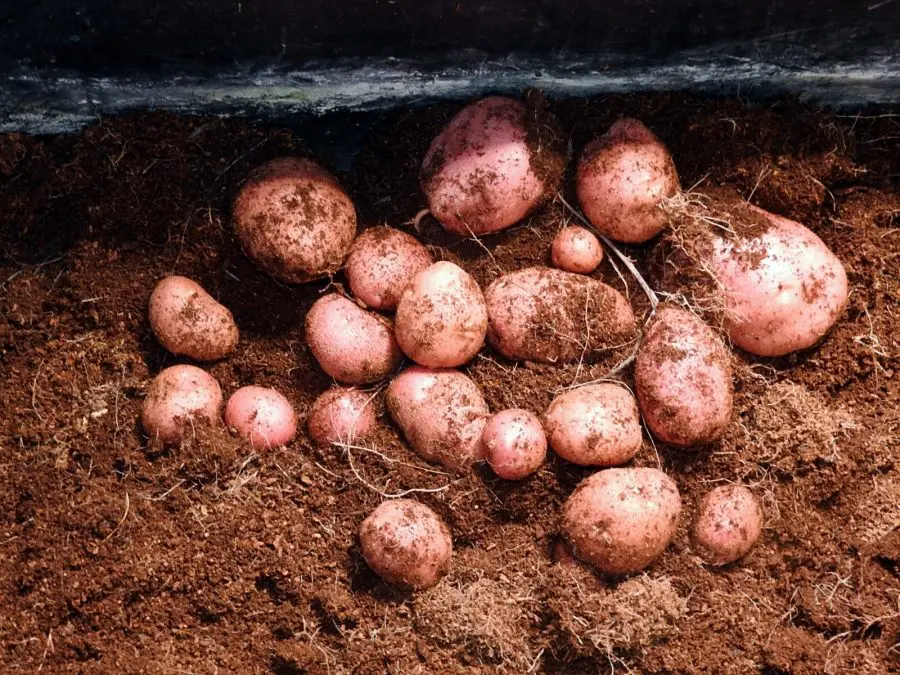
Advantages of Growing Vegetables in Coco Coir
Growing vegetables in coco coir has become increasingly popular among gardeners for its numerous benefits.
Coco coir, made from the fibrous husks of coconut shells, offers a sustainable and efficient medium for indoor and outdoor gardening.
Here’s why you should consider using coco coir for your vegetable garden:
1. Enhanced Water Retention
Coco coir has an excellent capacity to retain water, reducing the need for frequent watering.
This feature ensures that your vegetables receive a steady supply of moisture, which is crucial for their growth.
Despite its high water retention, coco coir also drains well, preventing waterlogging and the risks of root rot.
2. Improved Aeration
The structure of coco coir allows for better aeration compared to traditional soil.
This means that the roots of your vegetables get plenty of oxygen, which is essential for healthy growth and nutrient uptake.
Improved aeration also encourages the development of strong and healthy root systems.
3. Sustainable and Renewable
Coco coir is a by-product of the coconut industry, making it a sustainable and environmentally friendly option.
It’s renewable and biodegradable, reducing the ecological footprint of your gardening practices.
By choosing coco coir, you’re opting for a medium that’s not only good for your plants but also for the planet.
4. Pest and Disease Resistant
Coco coir is naturally resistant to pests and diseases like root rot, which means your vegetables are less likely to be affected by common garden ailments.
This reduces the need for chemical pesticides, leading to healthier plants and produce.
5. Neutral pH Level
Coco coir has a neutral pH range (5.5 to 6.8), which is ideal for most vegetable plants.
This eliminates the need for constant pH adjustments and makes it easier to maintain a balanced environment for your garden.
6. Easy to Use and Reuse
Coco coir is lightweight, easy to handle, and can be reused for multiple growing cycles. This makes it a cost-effective choice for gardeners.
Before reuse, simply rinse and buffer it to maintain its structure and nutrient-holding capacity.
In conclusion, coco coir offers an array of advantages for growing vegetables, from enhanced water retention and aeration to its sustainable nature.
Its pest resistance, neutral pH, and ease of use make it an excellent choice for gardeners looking to optimize their vegetable production in an eco-friendly way.
Whether you’re a seasoned gardener or just starting out, incorporating coco coir into your gardening practices can lead to healthier plants and a more productive garden.
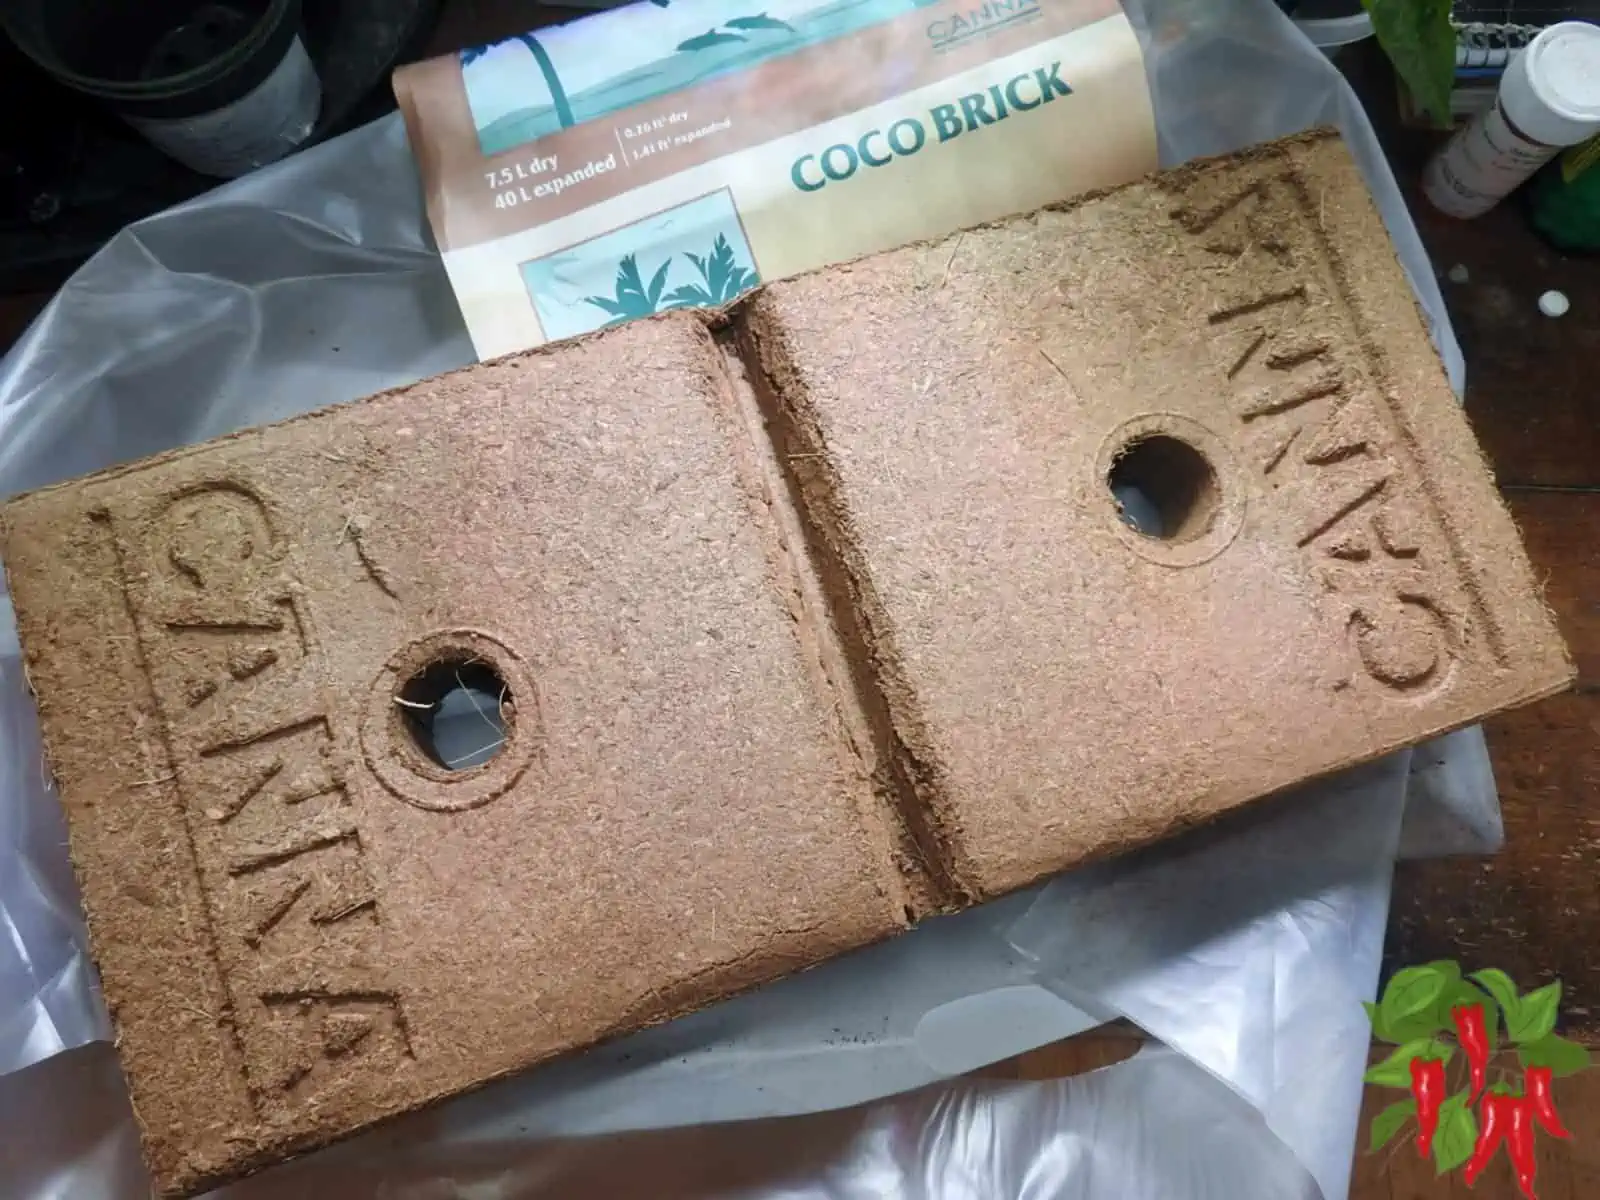
Canna Coco Is What I Use And Recommend
All coco coir is not created equally. Some cheaper brands contain high levels of salt making them unsuitable for growing plants.
Canna coco is prebuffered and very low in salts.
It also has consistently high quality and I have tried other brands but it still remains the best quality coco coir on the market.
It is available as coco bricks or loose and ready-to-use.
")


Coco has unique properties and requires a fertilizer made for coco for best results. Canna started the coco revolution and Coco A & B is still the best.
The Coco Coir Advantage: Boosting Plant Health and Happiness
Using coco coir for your plants comes with a host of advantages that can help your indoor garden thrive.
Its superb water retention and drainage capabilities ensure that your plants receive the right amount of moisture without the risk of overwatering.
The excellent aeration provided by coco coir promotes strong root growth, ultimately leading to healthier, more vigorous plants.
Plus, its natural resistance to pests and diseases means you’ll be creating a safer environment for your green friends.
Coco Coir in Context: Limitations and Considerations
While coco coir is a fantastic growing medium, there are a few things to keep in mind before making the switch.
One potential limitation if using cheap coco coir is that coco coir can sometimes contain high levels of salt, which could harm your plants.
To avoid this issue, it’s important to thoroughly rinse and buffer your coco coir before use. No need if you use Canna Coco it’s already prebuffered and ready to use.
Additionally, coco coir doesn’t provide essential nutrients for plant growth, so you’ll need to supplement with a balanced fertilizer to ensure your plants receive the necessary nutrients.
Understanding Your Plants
Tomatoes: Pruning and Nutrient Needs
At week 10, our tomato plants have flourished, loaded with tomatoes.
Pruning became essential, especially since our determinate tomatoes had grown quite large, obscuring some of the fruits.
After pruning, the tomatoes received the much-needed light to ripen properly.
Normally, determinate tomatoes don’t require pruning as they need their leaves for fruit ripening.
However, due to the abundance of tomatoes and signs of chlorosis, it was clear they were drawing a significant amount of nutrients.
Despite feeding them at 1,000 parts per million (PPM), increasing the nutrient solution to 1,200-1,500 PPM might address the deficiency signs.
Peppers: Growth and Care
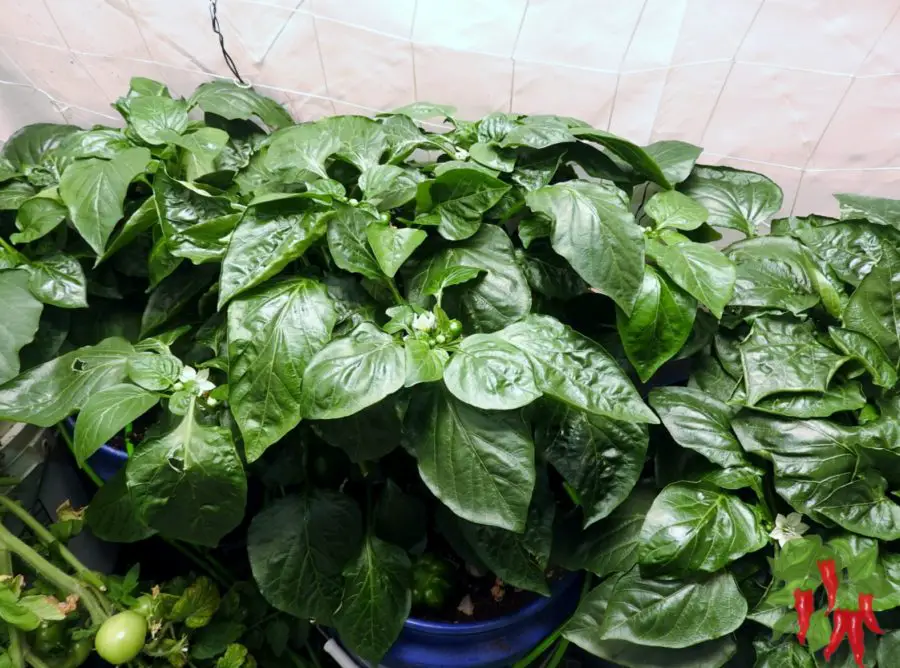
Our pepper plants, on the other hand, displayed robust growth with large leaves and budding fruits.
Although one pepper was accidentally knocked off during inspection, the plants are flowering and producing more peppers.
Pruning some leaves might become necessary to ensure better airflow and light penetration, crucial for ripening and healthy growth.
Hydroponic Tomatoes and Peppers FAQs
Q: How often should I prune my hydroponic tomatoes and peppers?
A: Prune determinate tomatoes sparingly, mainly to remove overgrown branches that block light.
Indeterminate tomatoes and peppers can be pruned more frequently to manage plant size and improve airflow and light exposure.
Q: What nutrient concentration should I use for hydroponic tomatoes and peppers?
A: Feed young plants at 300-600 PPM. For larger plants start with 1,000 PPM and observe your plants’ growth and health. If signs of deficiency appear, consider increasing the nutrient solution up to 1,200-1,500 PPM.
Q: Can I grow hydroponic tomatoes and peppers indoors if I don’t have a lot of space?
A: Absolutely! A closet or a grow tent can become your garden space.
The key factor is ensuring sufficient light, which is the main limiting factor indoors.
Use strong LED lights to mimic natural sunlight conditions.
How To Grow Hydroponic Tomatoes and Peppers Conclusion

Growing hydroponic tomatoes and peppers indoors is a rewarding endeavor that allows for year-round gardening, regardless of outdoor conditions.
Our journey through week 10 has shown significant progress, with a bountiful harvest on the horizon.
While challenges like nutrient deficiencies and the need for pruning arose, addressing these issues promptly has kept our plants healthy and productive.
For anyone looking to embark on hydroponic gardening, remember, sufficient light and proper nutrient management are your best tools for success.
Keep experimenting, stay green, and enjoy the fruits (and vegetables) of your labor. Until our next update, happy gardening!
Read more: Apartment Kitchen Garden