
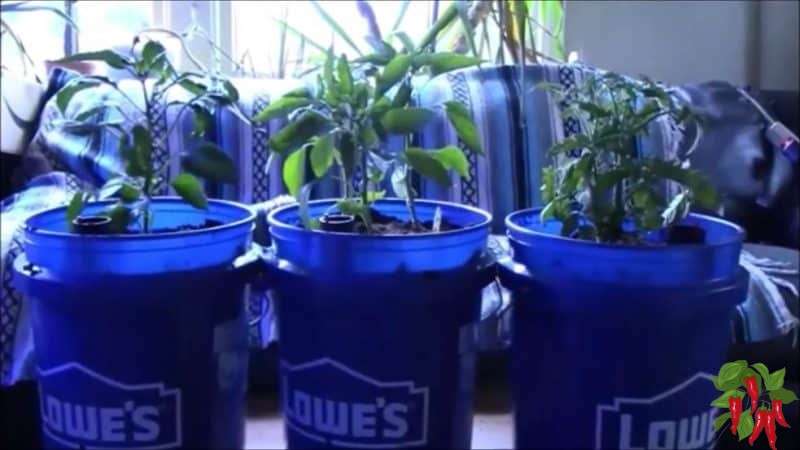
If you’ve been curious about trying a GroBucket setup, you’ll be glad to know it’s one of the easiest self-watering systems you can start with.
In just a few steps, you can have peppers, tomatoes, or other veggies thriving in their new home without worrying about overwatering or guesswork.
I just got my GroBucket in the mail. So today I will be showing you the unboxing and my GroBucket setup. I have 2 pepper plants and a tomato plant ready to transplant and set outside.
GroBucket Setup

So even though I knew I had to provide my own buckets somehow I expected the box to be bigger. But the most important thing is everything that was supposed to be in the box was there.
Setup really could not be easier. The first thing you need to do is drill the drain hole in your buckets. They need to be 3 1/2 inches from the bottom and they recommend drilling a 5/16 inch hole.
The hole can be a bit larger or smaller but the height is critical. Too low and your reservoir won’t hold enough water and too high and your bucket will be overfilled. It really needs to be just below the top of the GroBucket insert to work right.
If for some reason you don’t have a drill you can poke a hole in the bucket with a knife and then rotate it around to make it round but try for a 5/16 hole if you can.
Put the insert in your bucket and insert the feed tube into it. Make sure it fits snugly because you don’t want it to come loose when you fill the bucket.
GroBucket Soil Choices

The best choice for your GroBucket is coco but you can use any potting soil. Make sure it can compress well and it will work better if it doesn’t have perlite or other fillers because they will impede the wicking action you want.
Coco really is the best choice for GroBucket soil because it has higher wicking qualities than peat based potting soils. It also can hold more air even when wet than peat and it does not compress as much.
Canna Coco Is What I Use And Recommend
All coco coir is not created equally. Some cheaper brands contain high levels of salt making them unsuitable for growing plants.
Canna coco is prebuffered and very low in salts.
It also has consistently high quality and I have tried other brands but it still remains the best quality coco coir on the market.
It is available as coco bricks or loose and ready-to-use.


Coco has unique properties and requires a fertilizer made for coco for best results. Canna started the coco revolution and Coco A & B is still the best.
The Coco Coir Advantage: Boosting Plant Health and Happiness
Using coco coir for your plants comes with a host of advantages that can help your indoor garden thrive.
It’s superb water retention and drainage capabilities ensure that your plants receive the right amount of moisture without the risk of overwatering.
The excellent aeration provided by coco coir promotes strong root growth, ultimately leading to healthier, more vigorous plants.
Plus, its natural resistance to pests and diseases means you’ll be creating a safer environment for your green friends.
Coco Coir in Context: Limitations and Considerations
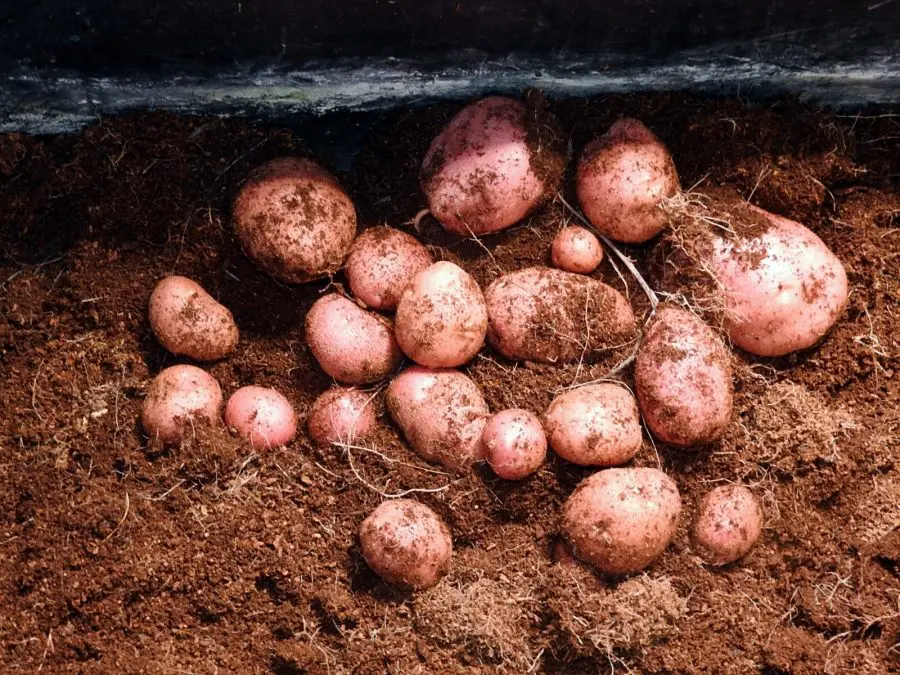
While coco coir is a fantastic growing medium, there are a few things to keep in mind before making the switch.
One potential limitation is that coco coir can sometimes contain high levels of salt, which could harm your plants.
To avoid this issue, it’s important to thoroughly rinse and buffer your coco coir before use.
Additionally, coco coir doesn’t provide essential nutrients for plant growth, so you’ll need to supplement with a balanced fertilizer to ensure your plants receive the necessary nutrients.
If you are thinking about adding garden soil don’t. It will not only compact and get hard but it also may contain pests.
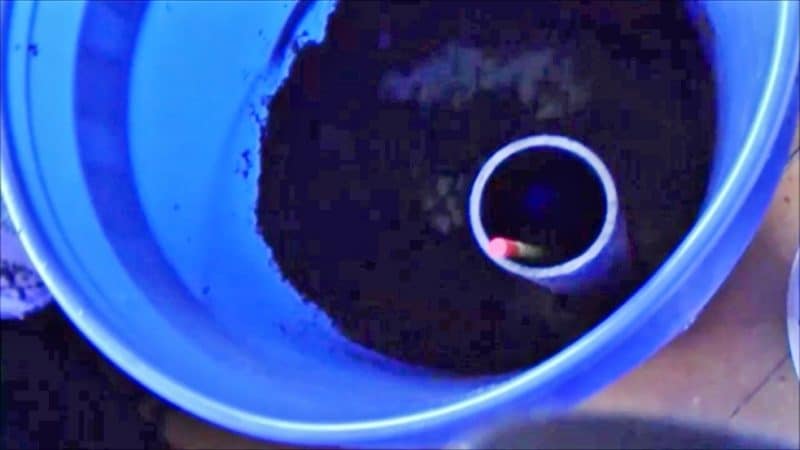
Here you can see the coco being packed around the GroBucket insert. You want to pack the soil down so that it is pretty firm. There is a slight lip on the bottom of the insert to keep the soil out of the reservoir.
The coco coir will wick water from the reservoir and capillary action will move it up in the bucket. So it is important not to have large air spaces below the top of the insert.
If you want to add soil amendments like worm castings I would add them to the soil above the insert where roots will get quicker access to it.
Transplanting Into Your GroBucket
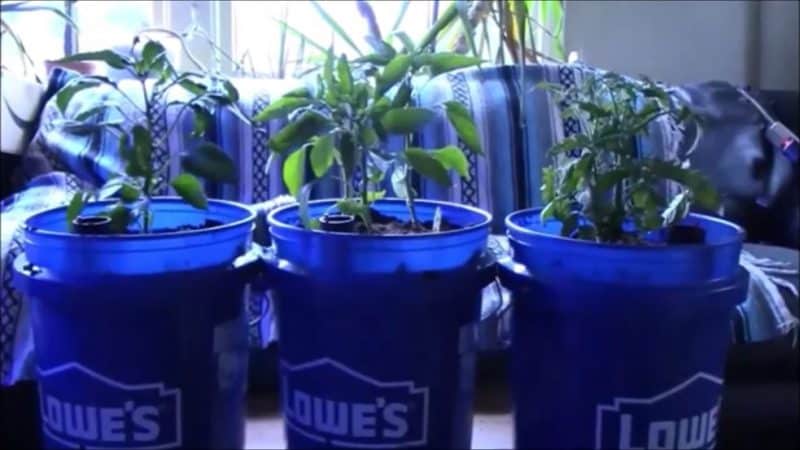
Here are my plants set in their grow buckets. Add soil gradually and test the height of your transplants inside the bucket.
Add enough soil to place the bottom of your transplant on top of the soil and decide how deep they should go. You will want to leave the soil level a couple of inches below the top of the bucket.
If you grow your own tomato plants or buy transplants that are leggy you can bury the stems and plant deeper. The stems will root after a while. Otherwise, the top layer of your transplants should be set about an inch below the soil line.
So you don’t want to fill your GroBucket all the way to the top. Later you can add mulch to the top to help conserve moisture.
How I Like To Transplant
I like to fill my buckets to the level I want. If your mix is moist (and it needs to be to wick properly) you can make a hole with your hand or you can take the pot your plant is in and press it into the soil.
It will make a perfect sized hole for your plant. Then remove your plant from its pot and drop it in the hole. Perfect fit and all you need to do now is firm the soil around it to eliminate air pockets.
GroBucket Setup FAQs
How do you start a GroBucket setup?
To start a GroBucket setup, drill a drain hole 3½ inches from the bottom of a bucket, insert the GroBucket liner and feed tube, then fill with coco coir or potting mix.
What soil works best in a GroBucket?
Coco coir is the best choice for GroBuckets because of its excellent wicking ability and aeration. Potting mix can also work but avoid perlite-heavy blends.
Can I use garden soil in a GroBucket?
No, garden soil is not recommended for GroBuckets. It can compact, block wicking, and introduce pests or diseases.
Do GroBuckets need special fertilizer?
Yes, coco coir requires coco-specific fertilizers like Canna Coco A & B to ensure plants receive balanced nutrients.
How do you transplant plants into a GroBucket?
Fill the bucket with coco or potting mix, make a planting hole, and set the transplant in place. Bury deeper if needed for tomatoes and firm soil around roots.
How do GroBuckets water plants?
GroBuckets use a built-in reservoir at the bottom of the bucket. Coco or soil wicks water upward through capillary action, keeping plants evenly hydrated.
Do you need to water from the top of a GroBucket?
In the first week, yes—watering from the top helps roots establish. After that, filling the reservoir through the feed tube is enough.
What are the benefits of using a GroBucket?
GroBuckets make watering simple, reduce guesswork, and promote healthy root systems by maintaining ideal moisture levels.
Final Thoughts On The GroBucket Setup
The GroBucket setup was very easy to fill with coco coir. It is very easy to set transplants in the loose coco or potting mix.
It’s available as 3 and 10 units. Here’s the 10s

It is raining outside today so I will be putting these outdoors tomorrow. I will water them in until the reservoirs are full and a bit of water comes out of the drain hole.
The first week you will want to water from the top to settle your soil and help feed the roots until they get established.
The beauty of the GroBucket system is how easy it is to water correctly. There is no guessing and your plants will thrive in them.
Here is the follow up to this article where the plants are set out and I share how I feed them.
GroBucket Self Watering Planter Review And Grow
More info on GroBuckets:
GroBucket Self Watering 5 Gallon Bucket System Review Easy Growing (indoorvegetablegrower.com)
💧 Indoor Hydroponic Gardens
Want fresh veggies year-round in small spaces? Explore beginner-friendly hydro systems, closet grow setups, self-watering hacks, and gear reviews that make indoor gardening simple.
-
- 🚪 How to Grow Vegetables in a Closet
- 🧰 How to Turn a Closet into a Grow Room
- 🏕️ Using a Grow Tent for Vegetables
- 🎪 Are Grow Tents Worth It for Vegetables?
- 🏢 Apartment Kitchen Garden: Smart Space Ideas
- 🏙️ Hydroponic Apartment Garden: How to Start
- 🥔 Growing Sweet Potatoes Indoors
- 🧱 Small Closet Grow Room Setup
- See all articles in our Indoor Hydroponic Gardens category
 Steve S. is the creator of